
RHEL Storage, XFS, ext4 and Mount Operations
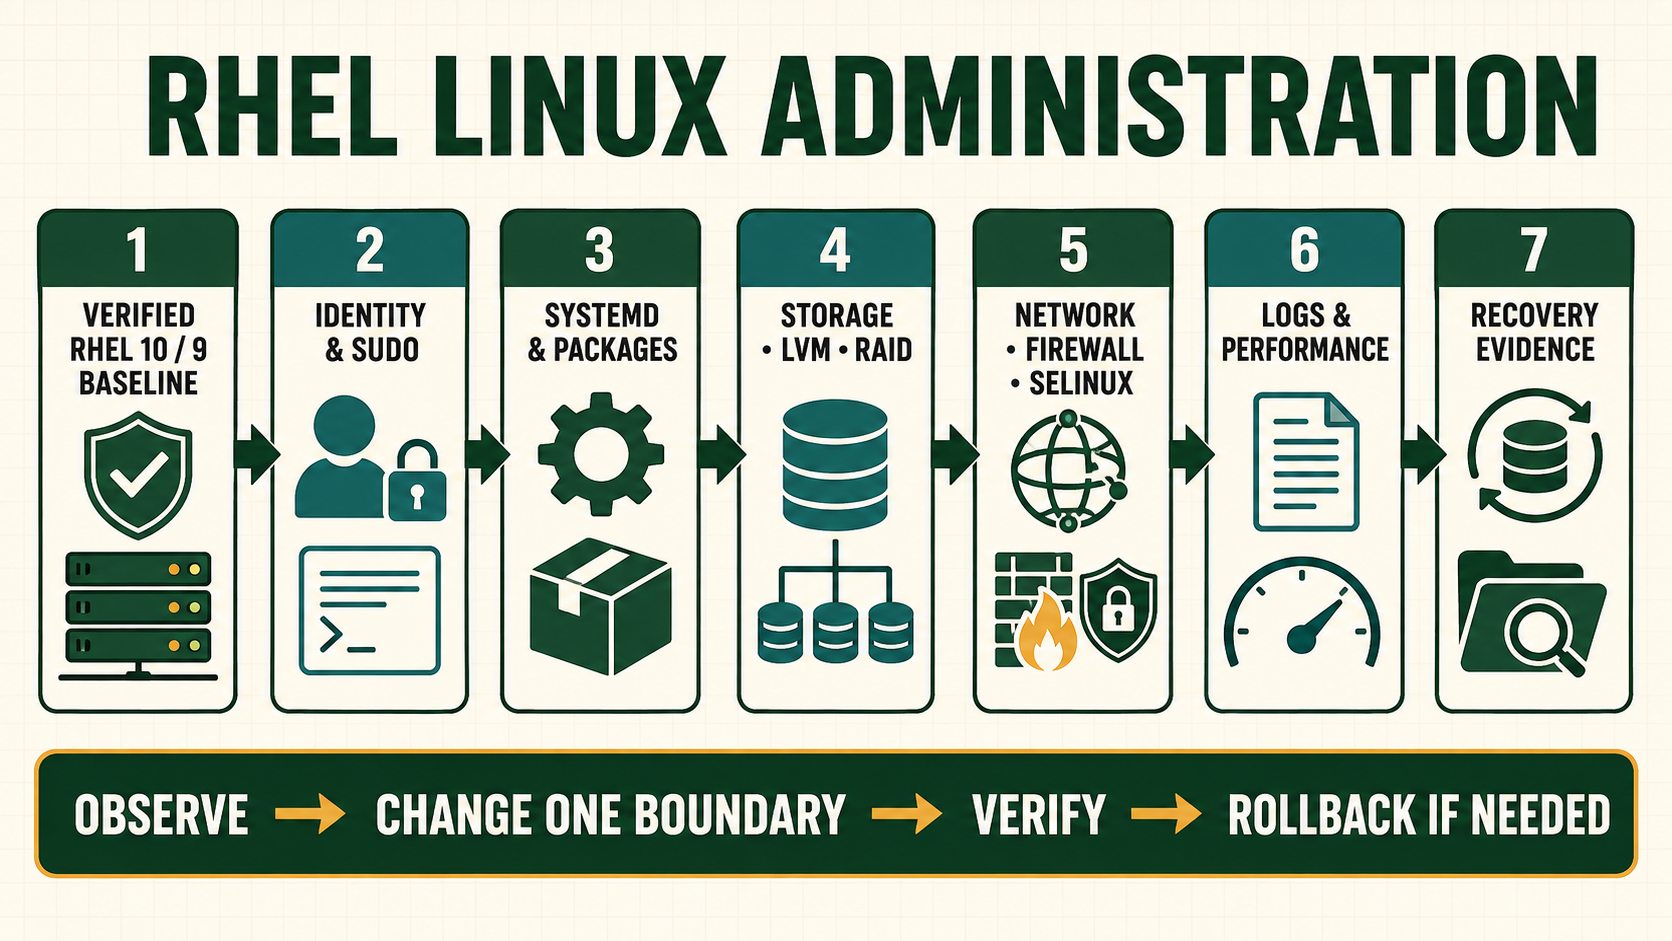
Storage commands can destroy data faster than most administration tools. Device names such as /dev/sdb are observations, not durable identities: discovery order can change after reboot or hardware work. Before partitioning, formatting, repairing or mounting, map the exact device by size, model, serial, WWN, path, filesystem signature and application ownership. A filesystem repair tool is not a substitute for a recoverable backup.
Separate device, partition, filesystem and mount layers
A disk or LUN presents blocks. A partition table may divide them. LVM or RAID may add another mapping. A filesystem organizes files, and a mount attaches that filesystem to the namespace. The mountpoint directory can contain hidden underlying files when another filesystem is mounted over it. Capture every layer before change.
XFS is the normal RHEL default and supports online growth but not shrinking. ext4 has different tooling and can support offline shrink under controlled conditions. Select based on supported workload and recovery requirements, not because one format was familiar on an earlier system.
Resolve the complete storage path
| Layer | Question to answer | Evidence |
|---|---|---|
| Physical/logical device | Which hardware or virtual object is this? | Model, serial, WWN and platform mapping |
| Mapping | Partition, RAID, crypt or LVM ownership? | lsblk, blkid, mapper and volume metadata |
| Filesystem | Type, UUID, label and health? | Filesystem-specific metadata and supported tools |
| Mount | Where and with which options is it attached? | findmnt, fstab and systemd mount state |
| Workload | Which process/data and recovery objective depend on it? | Open files, service ownership, backup and restore test |
Create and persist a lab filesystem safely
- Resolve the exact empty lab device. Verify it through independent identity fields and confirm no holders, signatures or mounts.
- Back up metadata and obtain authorization. Formatting is destructive even when the device name looks new.
- Create the reviewed layout. Use GPT and alignment suitable for the platform; reread the table and inspect.
- Create the selected filesystem. Use XFS or ext4 defaults unless a tested requirement justifies options.
- Mount and set ownership. Use a dedicated mountpoint and application-specific access, not broad world write.
- Persist by UUID. Add a reviewed fstab entry, run
findmnt --verify, unmount/remount and test an approved reboot.
Inventory filesystems and mount state
lsblk -e7 -o NAME,PATH,TYPE,SIZE,MODEL,SERIAL,WWN,FSTYPE,UUID,MOUNTPOINTS
blkid
findmnt -o TARGET,SOURCE,FSTYPE,OPTIONS
findmnt -T /var
df -hT
df -ih
du -x -h --max-depth=1 /var | sort -h
lsof +L1
findmnt --verify
xfs_info /mountpoint
tune2fs -l /dev/mapper/example 2>/dev/null | head
systemctl status local-fs.target- Do not substitute a device into filesystem-changing commands until identity and ownership are independently confirmed.
- Compare
dfallocation with boundeddu -x; deleted-but-open files and hidden underlying mountpoint data explain many differences. df -ichecks inode exhaustion, which can block file creation while byte capacity remains.- Run filesystem-specific repair only under its documented mount-state and backup requirements.
Evidence and acceptance criteria
| Evidence | Healthy result | Failure meaning |
|---|---|---|
| Device identity | Serial/WWN/platform mapping match the approved target | Device letter or path points to another object |
| Signatures/holders | Expected partition, mapper and filesystem ownership | Existing data, RAID/LVM membership or active consumer |
| fstab validation | Stable UUID and syntax verify without duplicate mount | Boot can enter emergency mode or mount wrong data |
| Capacity | Bytes and inodes have role-specific headroom | Writes can fail despite a misleading single metric |
| Recovery | Recent backup and restore test cover the data | Repair or device failure could become permanent loss |
Worked scenario: five gigabytes free but file creation fails
A filesystem dashboard shows five gigabytes available, yet an application cannot create queue files. The operator checks byte use, inode use, quota, read-only state, mount options and application identity. Millions of tiny abandoned files have exhausted inodes, while bytes remain available.
The team stops the producer that leaks files, preserves a representative sample, removes only records past the approved retention boundary in controlled batches, and monitors inode pressure. Increasing disk size alone would not necessarily add enough usable inodes or correct the leak.
Practical how-to cases
Case 1: Create and mount XFS
Partition a verified empty lab disk, create XFS and mount by UUID. Use a disposable lab disk and resolve device model, serial and mount ownership before any destructive command.
lsblk -o NAME,SIZE,MODEL,SERIAL,FSTYPE,MOUNTPOINTS
sudo parted /dev/vdb --script mklabel gpt mkpart data xfs 1MiB 100%
sudo mkfs.xfs /dev/vdb1
sudo mkdir -p /srv/data
sudo blkid /dev/vdb1
sudo mount UUID=REPLACE_UUID /srv/data
findmnt /srv/data| Checkpoint | What to establish |
|---|---|
| Expected result | The exact disk has one GPT partition, XFS mounts at /srv/data and findmnt reports the UUID-backed source. |
| If it fails | Wrong device identity is a stop condition; a mount failure requires journal, filesystem and path evidence. |
| Safe recovery | Unmount the lab filesystem, restore the reviewed fstab entry or filesystem backup, and never run repair against a mounted production filesystem. |
Case 2: Make a mount persistent
Add a reviewed UUID entry and test it without rebooting first. Use a disposable lab disk and resolve device model, serial and mount ownership before any destructive command.
sudo cp -a /etc/fstab /etc/fstab.before-data
printf 'UUID=REPLACE_UUID /srv/data xfs defaults 0 0\n' | sudo tee -a /etc/fstab
sudo systemctl daemon-reload
sudo findmnt --verify
sudo umount /srv/data
sudo mount /srv/data
findmnt /srv/data| Checkpoint | What to establish |
|---|---|
| Expected result | findmnt verification succeeds and the named mount returns with intended options. |
| If it fails | A syntax-valid entry can still reference an unavailable device; retain console access for boot testing. |
| Safe recovery | Unmount the lab filesystem, restore the reviewed fstab entry or filesystem backup, and never run repair against a mounted production filesystem. |
Case 3: Diagnose false full disk reports
Check bytes, inodes, deleted-open files, quotas and read-only state. Use a disposable lab disk and resolve device model, serial and mount ownership before any destructive command.
df -hT /var
df -ih /var
du -x -h --max-depth=1 /var | sort -h
sudo lsof +L1
findmnt -no OPTIONS /var
sudo xfs_quota -x -c 'report -h' /var 2>/dev/null || true| Checkpoint | What to establish |
|---|---|
| Expected result | The capacity mechanism is identified before deletion: blocks, inodes, open files, quota or read-only state. |
| If it fails | df and du differ when deleted files remain open, mounts hide data, or scopes differ. |
| Safe recovery | Unmount the lab filesystem, restore the reviewed fstab entry or filesystem backup, and never run repair against a mounted production filesystem. |
Case 4: Check repair boundaries
Use the filesystem-specific inspection path and do not apply ext4 tools to XFS. Use a disposable lab disk and resolve device model, serial and mount ownership before any destructive command.
findmnt -T /srv/data
lsblk -f /dev/vdb1
sudo umount /srv/data
sudo xfs_repair -n /dev/vdb1
# ext4 lab volume only: sudo e2fsck -fn /dev/vdc1| Checkpoint | What to establish |
|---|---|
| Expected result | The filesystem is unmounted and the no-modify/read-only check reports whether repair planning is needed. |
| If it fails | Wrong tool, mounted repair or failing hardware can turn metadata damage into data loss. |
| Safe recovery | Unmount the lab filesystem, restore the reviewed fstab entry or filesystem backup, and never run repair against a mounted production filesystem. |
Case 5: Create a VFAT interchange volume
Use VFAT only where firmware or cross-platform interchange requires its permission model. Use a disposable lab disk and resolve device model, serial and mount ownership before any destructive command.
sudo mkfs.vfat -n EXCHANGE /dev/vdd1
sudo mkdir -p /mnt/exchange
sudo mount -o uid=1000,gid=1000,umask=0027 LABEL=EXCHANGE /mnt/exchange
findmnt /mnt/exchange
lsblk -f /dev/vdd1| Checkpoint | What to establish |
|---|---|
| Expected result | The labelled volume mounts with effective ownership derived from mount options rather than Unix inode modes. |
| If it fails | chmod and POSIX ACL expectations do not apply to VFAT as they do to XFS or ext4. |
| Safe recovery | Unmount the lab filesystem, restore the reviewed fstab entry or filesystem backup, and never run repair against a mounted production filesystem. |
Independent practice tasks
- Create an ext4 lab filesystem and compare its inspection tools with XFS.
- Configure x-systemd.automount and prove on-demand behavior.
- Set an XFS project quota on a lab tree.
- Recover from a deliberately invalid fstab entry using console access.
For this lesson on RHEL Filesystems and Mount Operations, complete each task without copying the worked command sequence. Record the initial state, exact change, verification, negative test and recovery command. A task is unfinished if it works now but does not survive a reboot where persistence is required.
Troubleshooting by symptom
| Symptom | Inspect first | Defensible next action |
|---|---|---|
| No space despite free bytes | Inodes, quota, reserved space, read-only state and exact filesystem | Correct the exhausted resource or policy |
| Filesystem missing after reboot | fstab UUID, device availability, dependencies and journal | Restore correct identity/dependency; do not add nofail to hide required data |
| df and du differ | Deleted-open files, mount boundaries, snapshots and permissions | Find owning process or hidden data before deleting |
| Mountpoint contains wrong content | Source identity and whether mount failed | Stop writes, restore the intended mount and reconcile data |
| Filesystem reports corruption | Hardware path, backup, mount state and vendor procedure | Preserve evidence, isolate and use the filesystem-specific supported repair plan |
Unsafe operations and recovery boundaries
- Unsafe:
mkfs, partitioning and signature wiping permanently overwrite filesystem metadata. Resolve the exact target and backup before execution. - Unsafe: running repair on a mounted filesystem when the tool requires offline state can increase corruption. Follow the filesystem-specific procedure.
- Unsafe: recursive deletion based only on a broad path or age can destroy active data and evidence. Inventory and bound exact records.
Rewritten knowledge checks
Guided lab and acceptance test
- Attach a new disposable virtual disk and record model, serial/path, size, signatures and holders.
- Create one GPT partition and an XFS filesystem only after confirming the lab target.
- Mount it by UUID under a dedicated path and validate fstab.
- Create files, compare byte and inode use and inspect the filesystem with
xfs_info. - Open a file, unlink its name and use
lsof +L1to explain retained space. - Close the descriptor, unmount/remount and reboot to prove persistence, then destroy only the disposable VM disk.